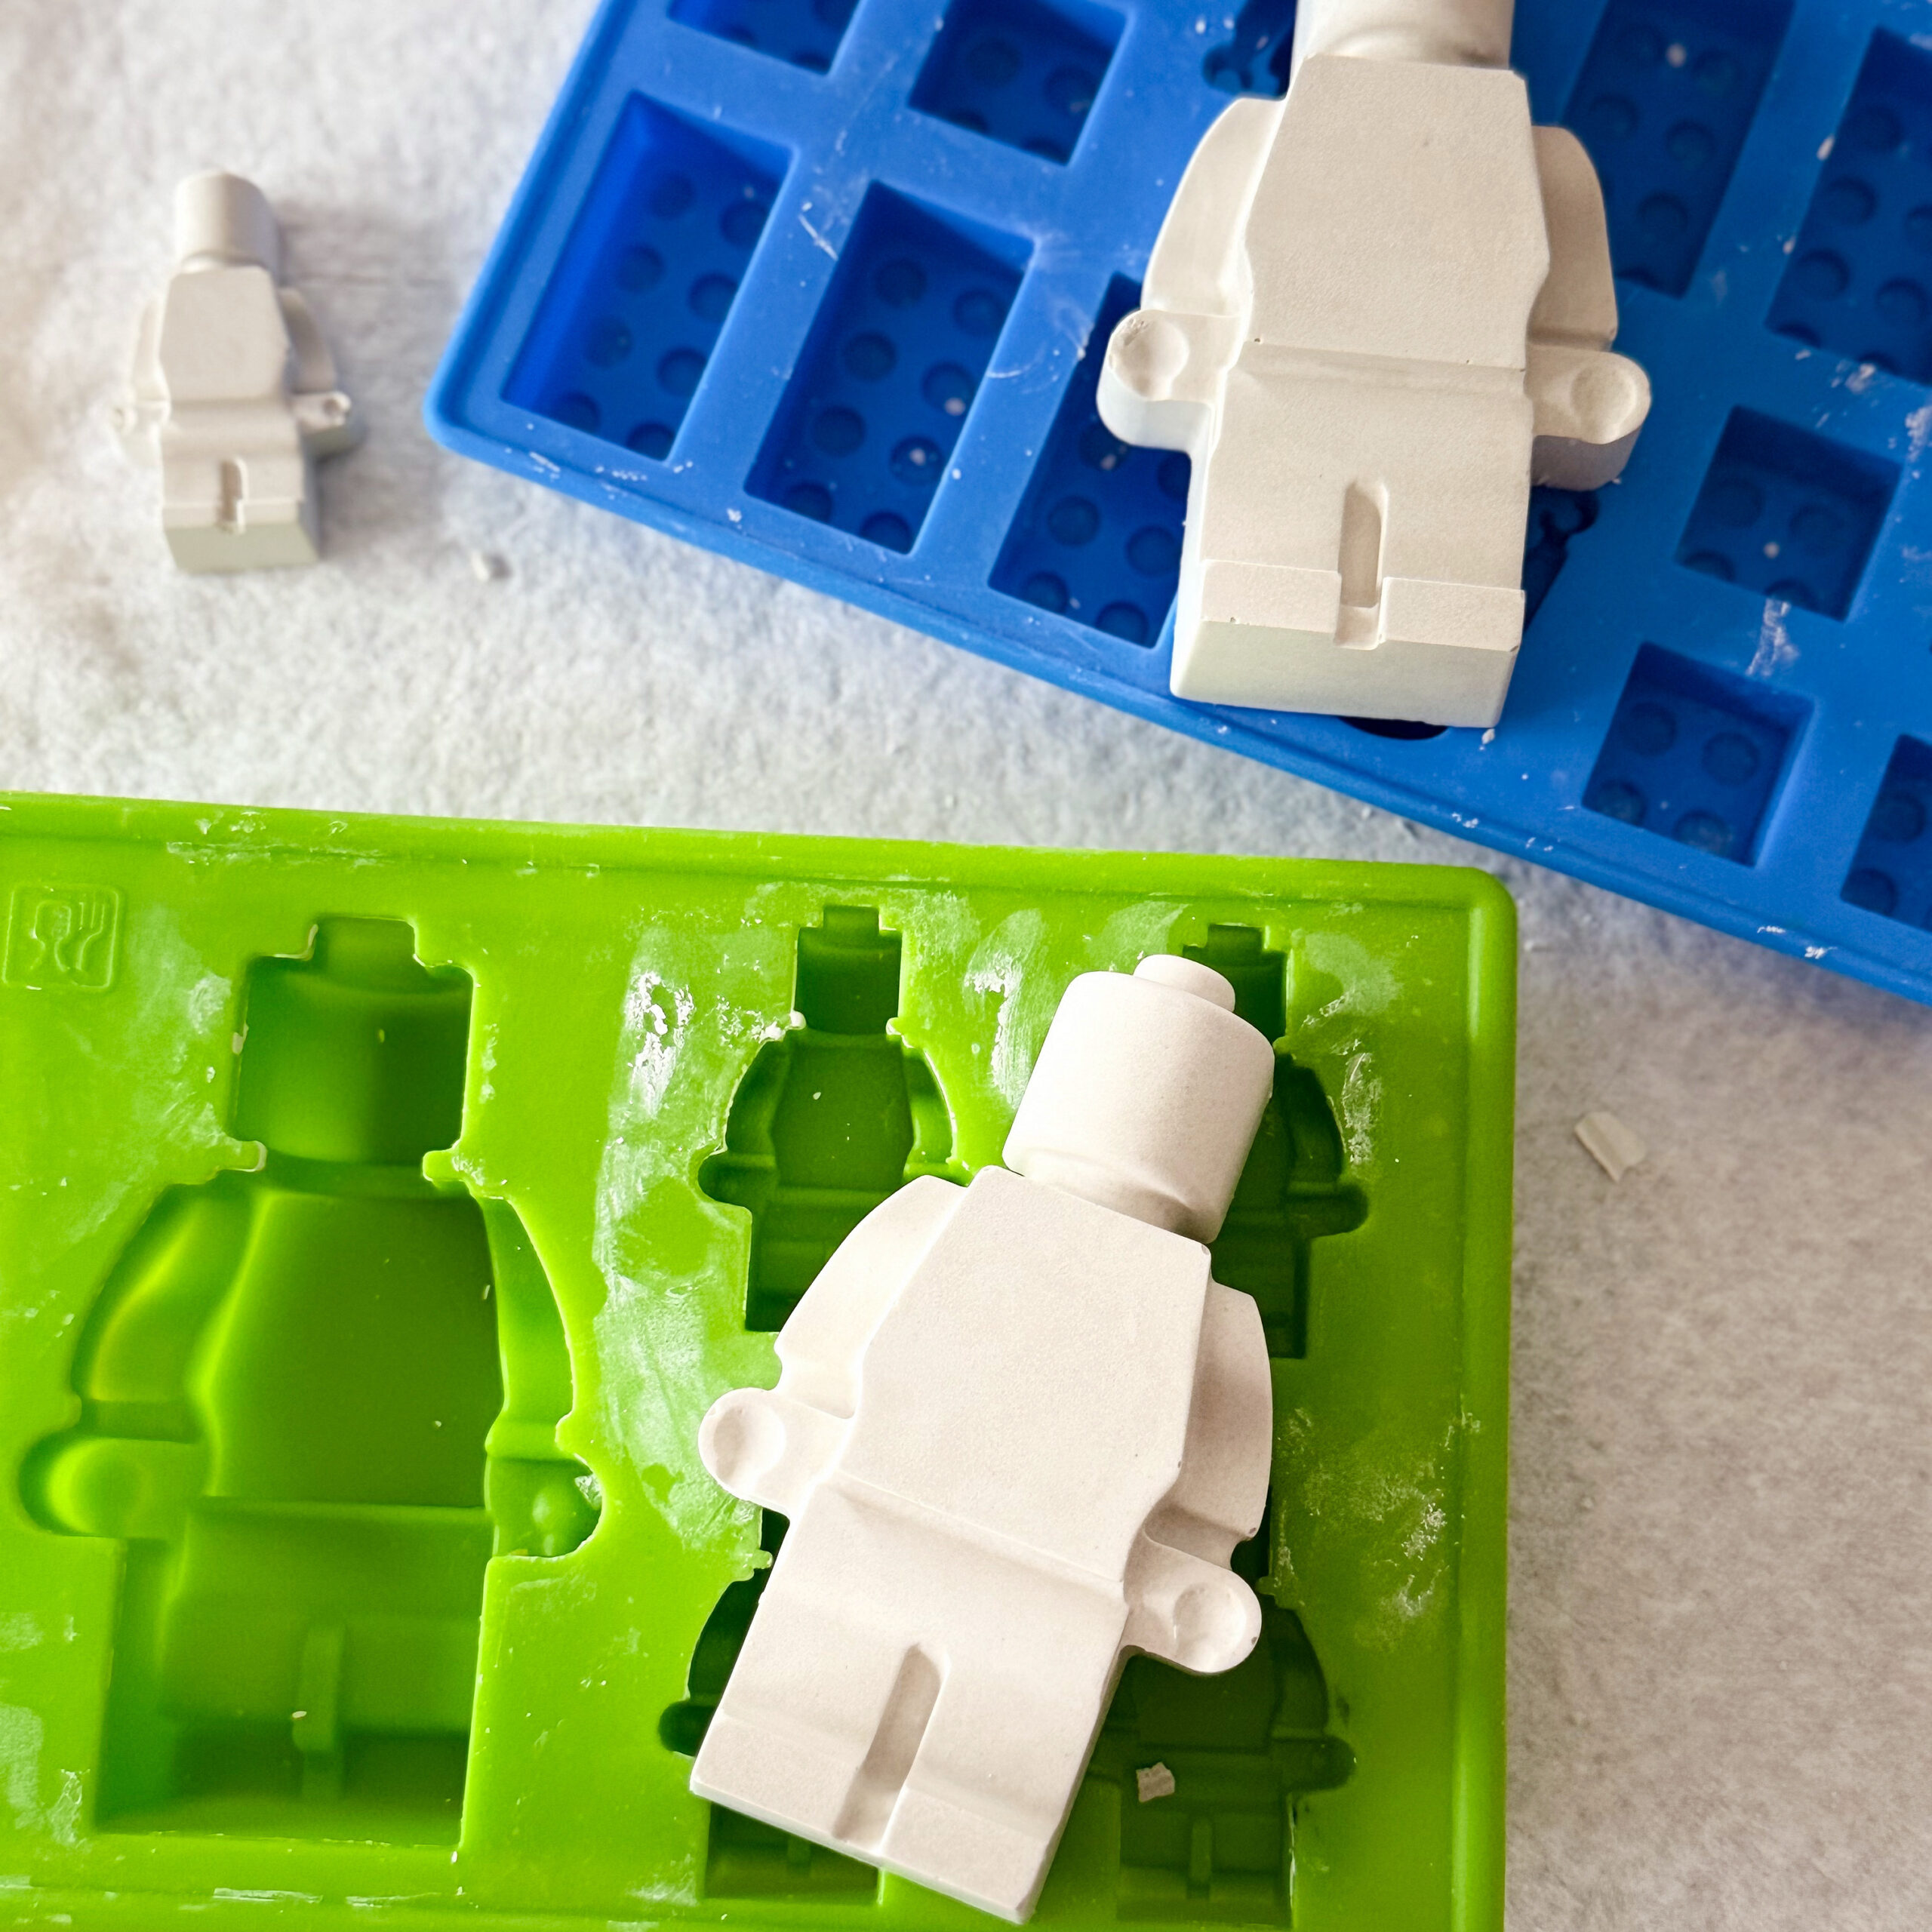
Looking for a fun, affordable craft idea for kids? These DIY Lego plaster figurines are the perfect project! With just a few basic supplies, you can create adorable minifigurines that are perfect for painting, gifting, or party favors. They’re quick to make, super budget-friendly, and a huge hit with kids!
I made these as goody bag treats for my son’s 7th birthday, and I just know they will be a total success since my own kids love them!
What You’ll Need:
- Plaster of Paris
- Measuring cup
- Mixing cup or bowl
- Popsicle stick or spoon (for stirring)
- Water
- Lego-style silicone mold (available online or in craft stores)
How to Make Your Plaster Lego Figurines:
- Mix It Up – Combine 2 parts Plaster of Paris to 1 part water in your mixing cup. (Example: 1 cup plaster + ½ cup water.)
- Stir Well – Use a popsicle stick to stir until smooth. Work quickly, as plaster sets fast!
- Pour Into Mold – Carefully pour the mixture into your Lego mold, filling each cavity.
- Let It Set – Tap to get air bubbles out a few times then allow the plaster to harden for 30–60 minutes.
- Pop ‘Em Out – Gently remove the figurines from the mold beginning with the feet first.
- Cure Time – Let them fully dry for 24 hours before decorating.
- Get Creative! – Once cured, paint them with acrylic paints or let kids go wild with markers and glitter.
Ideas & Tips:
- Use these as craft activities at a birthday party.
- Package a few in a bag with some paint pots and a brush for a party favors or DIY gift.
- Great for rainy days, school projects, or holiday stocking stuffers/party favors!
These DIY Lego plaster minifigurines are a super fun and easy project to do with kids—or to prep ahead for a party or gift. Plus, you’ll save money and end up with something unique and handmade. Win-win!


