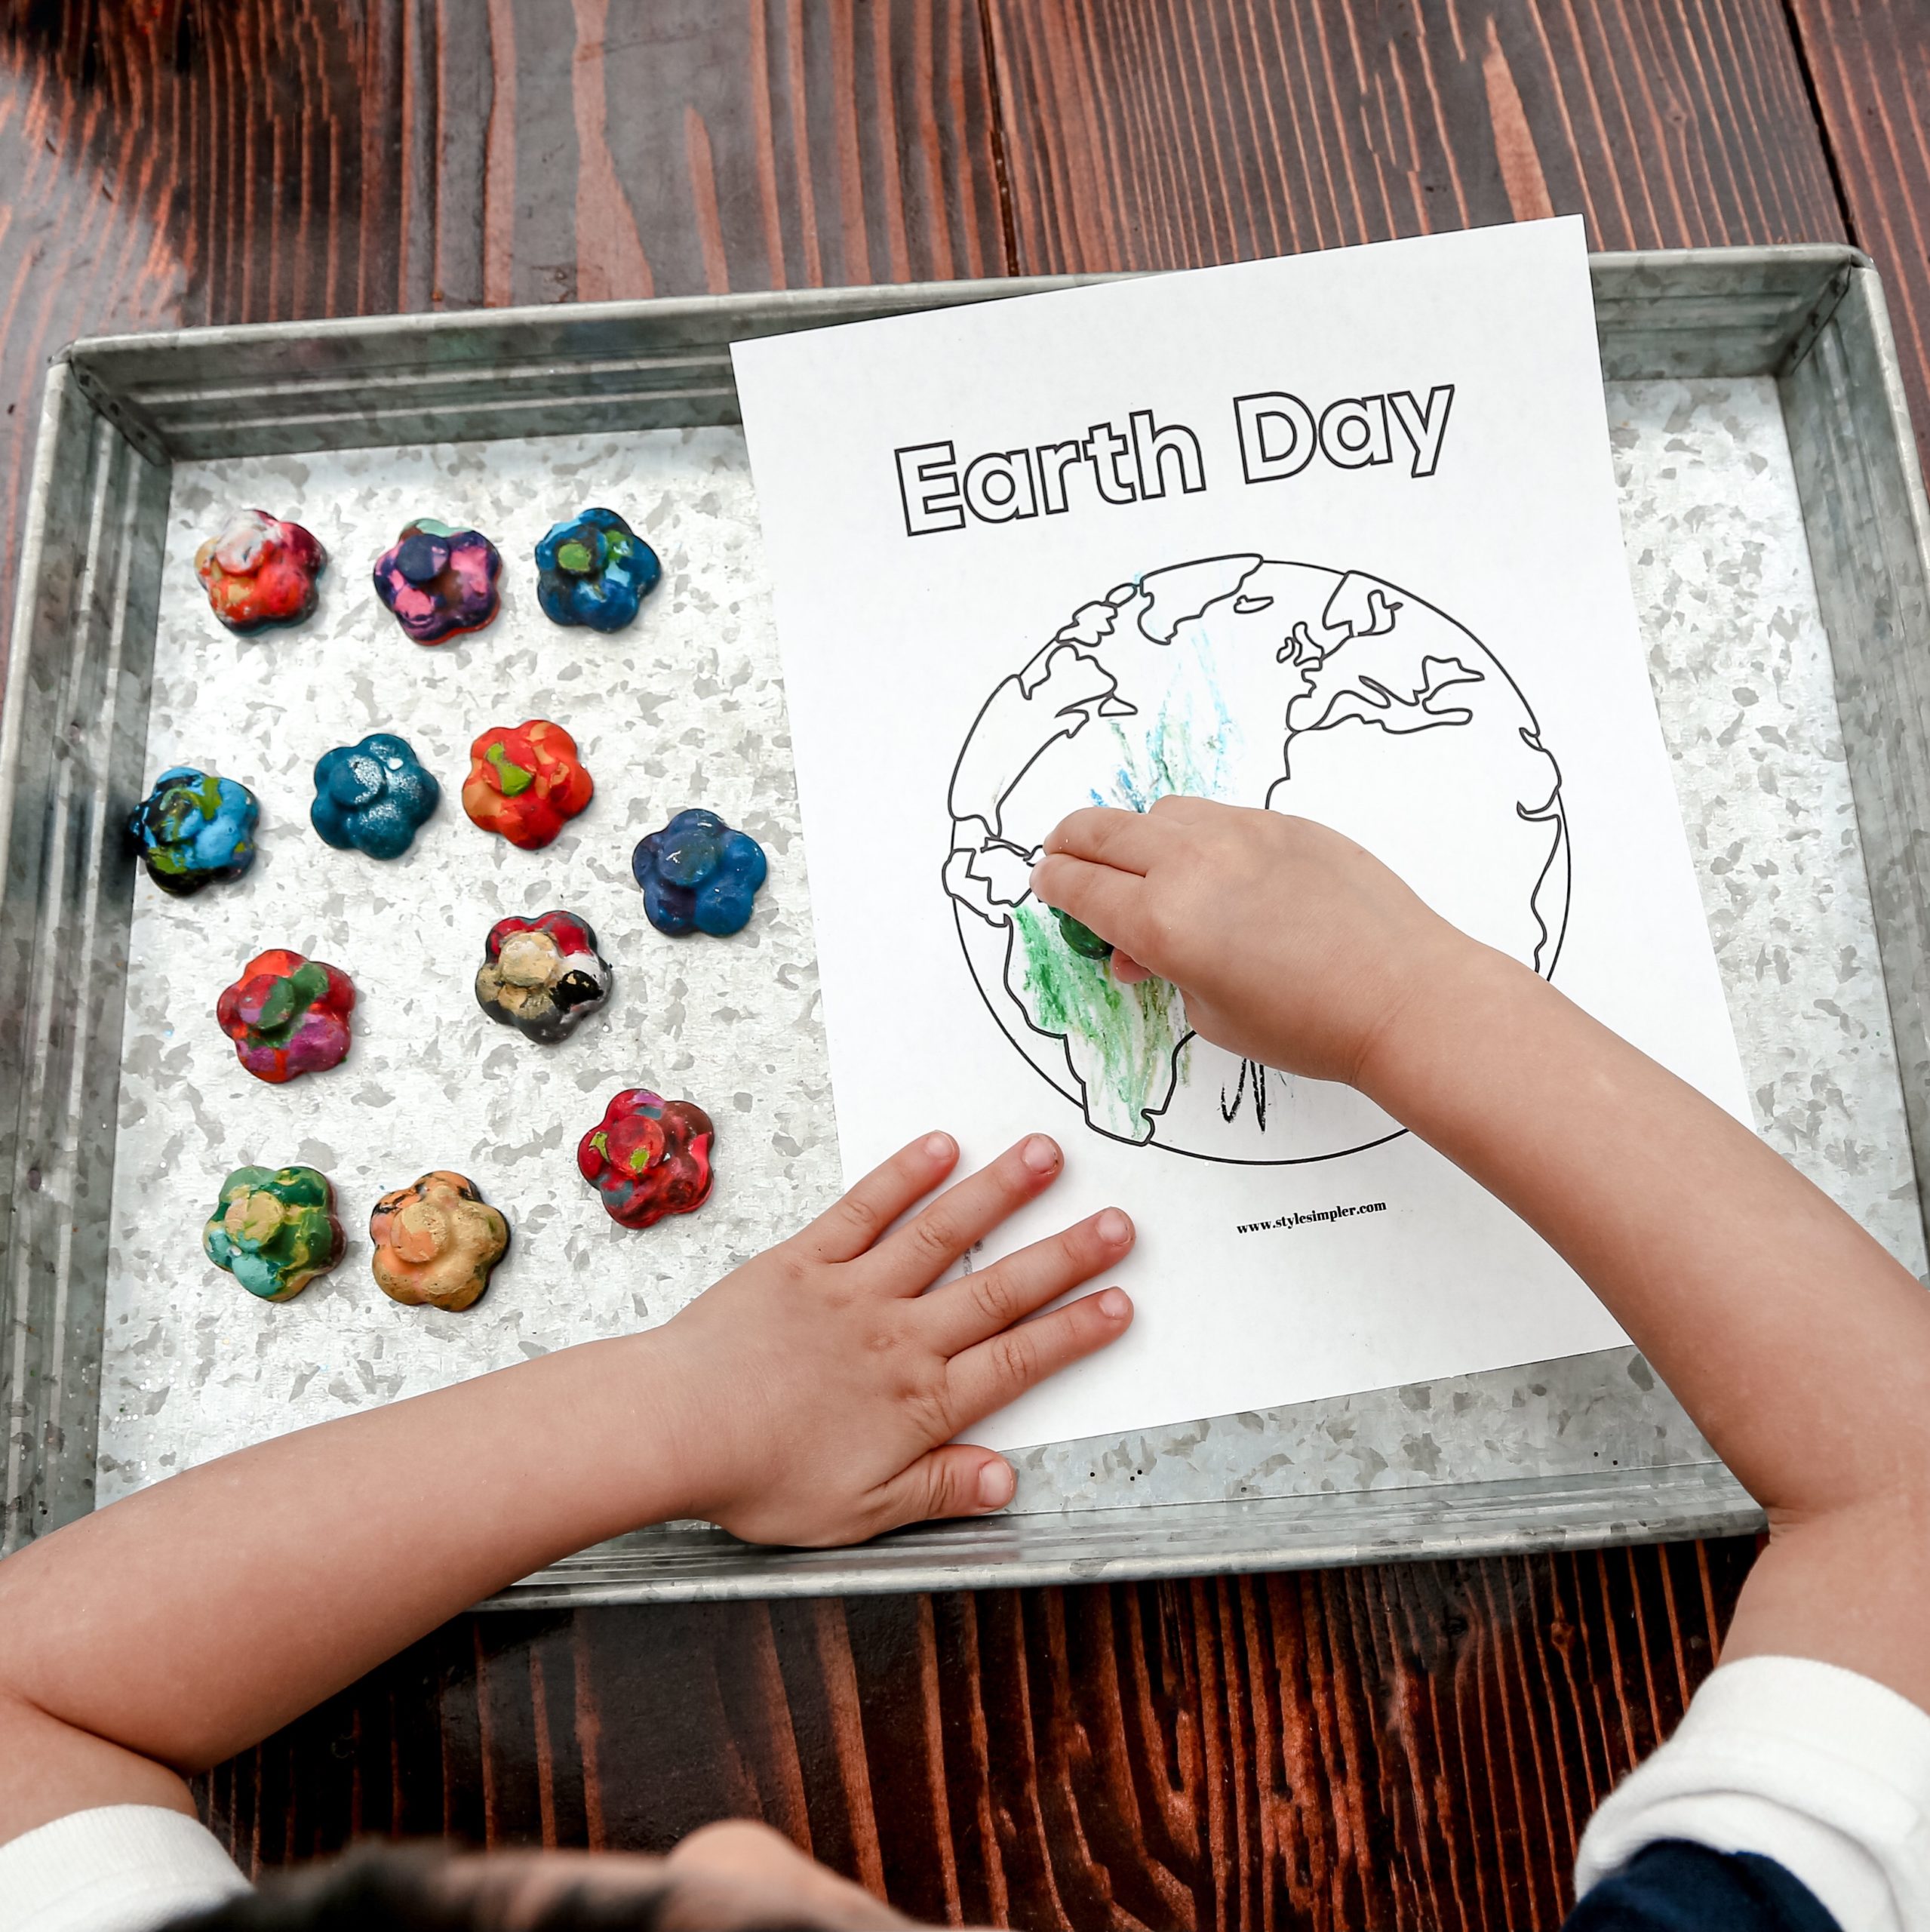
Broken crayons? Don’t throw them away! Repurpose them into new crayons and use them up! To celebrate earth day, my kids and I reused broken crayons that we otherwise would’ve had little use for. Teaching them the good ole slogan reuse, reduce and recycle is alive and well! I also created some printables for them to reinforce the importance of reducing waste, reusing and recycling. It’s never too early to start being eco conscious and earth friendly. Read below to find out how we made these DIY crayons so you too can repurpose all your old broken crayons!
What You’ll Need:
- Broken Crayons
- Silicone mold/tray
- Toaster Oven/oven

DIY crayons:
I’ve noticed that the Crayola brand crayons melt down the easiest and retain their color and waxiness. Other brands work too but sometimes the wax and colors separate or take longer to melt.

Step 1
Gather all your broken crayons. You’ll need more than you think!
Peel off all the paper.

Step 2
Break the broken crayon into smaller pieces and place into your mold. Make sure your mold is oven safe. Arrange them to fill the mold and a little over. Keep the same color or mix and match, have fun with it! My kids loved mixing them all together and creating a fun new colorful crayon.

Step 3
Preheat your oven to 250f. Carefully put in your silicone tray full of crayons. Set a timer for 10 mins. 3-5 mins in you’ll see it melted halfway and if you need to add more crayon pieces do it now! After 10 mins, turn off oven and pull out tray to let cool.
Gently loosen crayon from mold. Pop out. Color and enjoy!
Helpful Video Tutorials
Sharing this quick video to show how I made these diy crayons! Let me know if you find these helpful and I’ll make more.

Love what you see? Pin It!


