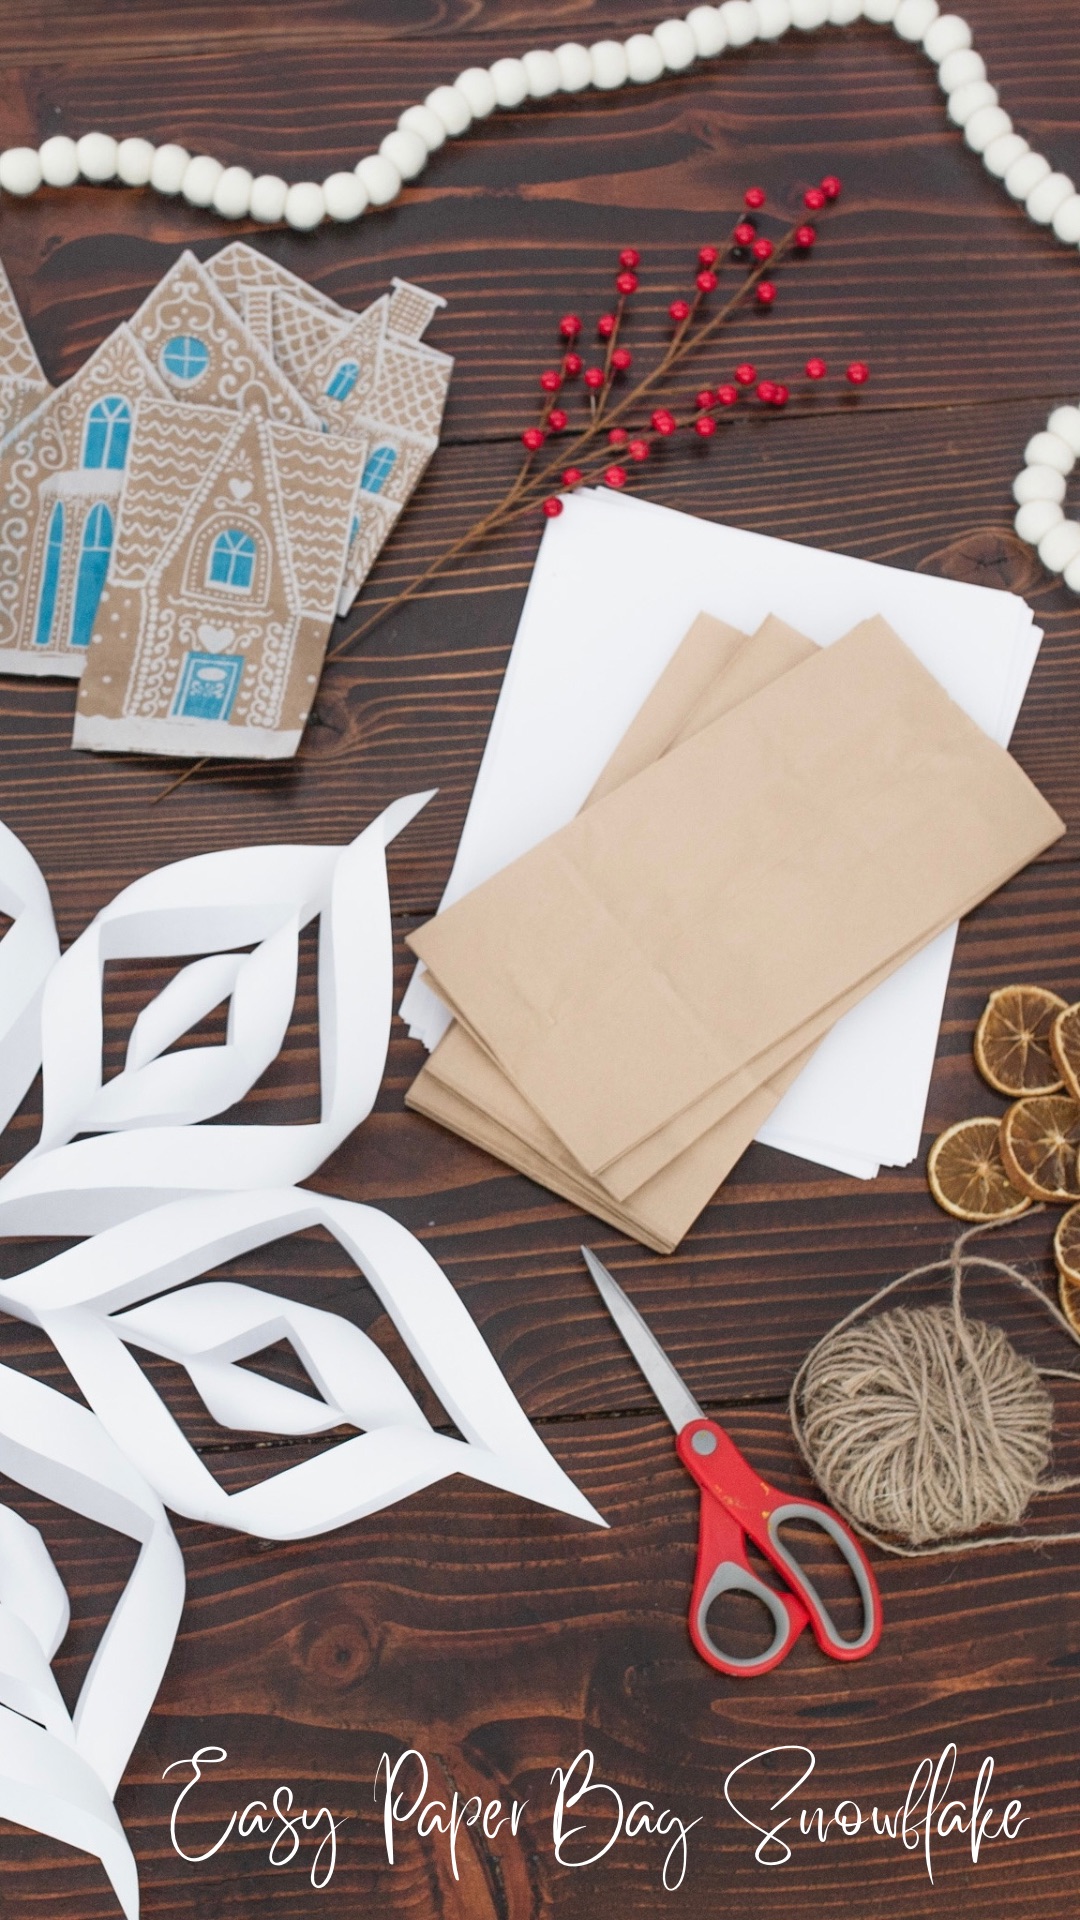
This budget friendly and easy paper bag snowflakes craft can decorate your home this holiday in minutes! My kids love making 3D snowflakes so this year we added some of these fun and easy paper bag snowflakes and they were such a hit! All the kids had a try making one and just like real snowflakes they all turned out a little bit different. Read below to see all the steps or watch the video at the end to deck your halls with these easy paper bag snowflakes.

What You’ll Need:
- Paper bags (I picked up 2 packs from the dollar store)
- Scissors
- Hot glue or glue stick
- String
Step 1
Glue & Stack
- Put glue along the bottom and down the middle
- Stack paper bag on top all facing the same direction
- Continue until you’ve glued together 7-8

Step 2
Cut & Decorate
- Cut along the top of bag on either side to create a point for the snowflake
- Optional: cut a triangle in the middle on either side

Step 3
Finish & Hang Up
- Bring the first and last flap together and glue together
- Hang with a string or connect to make a garland

That’s it! Check out my video below to see these steps in action but these easy paper bag snowflakes are really a fun and easy craft to do.


